Achieve Perfect Landscaping: Seven Critical Mid-winter Tree Care Hacks!
by: John Campanini Jr., Technical Director, RI Tree
Winter in New England is hard on trees. Unlike regions with a steady deep freeze, our coastal influence and frequent “January Thaws” create a cycle of freezing and thawing that’s often more damaging than the cold itself. Additional challenges for winter tree care in New England, are the use of road salt, winter burn, heavy snow and ice loading, animal girdling and feeding, winter-active invasive pests, and mechanical damage from plowing the region’s roads
Beating these challenges isn’t easy. Arborists and homeowners need to stay abreast of what’s happening in the region to help trees survive. Misconceptions about winter tree care, however, can lead to “passive damage”—harm that isn’t immediately visible until the following spring or summer. When we act on poor advice, we often disrupt the tree’s internal “plumbing” or its natural defense mechanisms. Put another way, misconceptions about how trees handle the cold often lead to avoidable damage.

Below are seven common mid-winter tree care tips that can physically and biologically hurt your trees:
1. Watering prevents mid-winter desiccation
When a tree (especially an evergreen) goes months without water because the homeowner assumes it is “asleep,” it often suffers from physiological drought. In other words, it can lead to desiccation. Even in the mildest of winters, New England winds pull moisture out of needles and bark. If the roots are in dry soil, they can’t replace the water they’ve lost. This causes the cells to collapse and die, leading to “winter burn.” By spring, you aren’t looking at a sick tree—you’re looking at a tree that partially dehydrated to death.
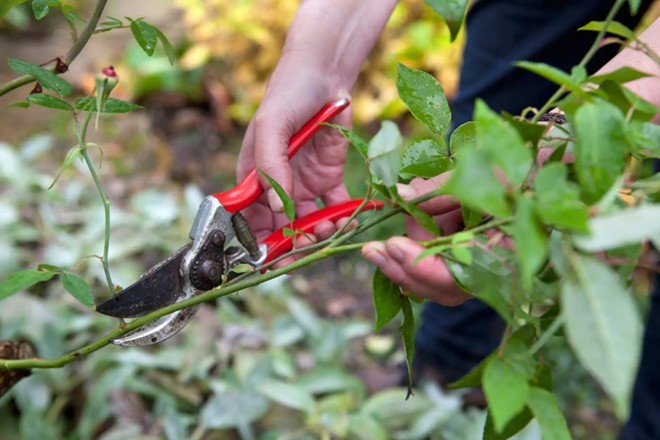
2. Shaking snow can cause vascular snap
Trying to save a bending branch by shaking it can lead to vascular snap—an internal fracturing of water-conducting tissues caused by shaking brittle, frozen branches, which disrupts sap flow even if the wood appears physically intact. Shaking or beating a branch doesn’t just risk a clean break; it can cause microscopic cracks in the xylemand phloem (the tree’s circulatory system). Even if the branch doesn’t fall off, it may never “plumb” water again, causing it to die slowly over the next two years.
3. Overfertilizing can cause a cellular explosion
Applying nitrogen-heavy fertilizer in mid-winter can trigger a hormonal “wake up” call at the worst times. Nitrogen encourages the tree to produce new, tender cells. If a “January Thaw” is followed by a typical New England deep freeze, the water inside those new, un-hardened cells freezes, expands, and literally explodes the cell walls. This leaves the tree with blackened “dieback” and a depleted energy reserve.
4. Wound paint creates a fungal incubator
Using tar or paint to “seal” a pruning cut traps moisture against the wood. Trees don’t heal; they compartmentalize (seal off) wounds using a process called CODIT. By painting the wound, you are essentially building a “greenhouse” for anaerobic bacteria and wood-decay fungi. This greenhouse prevents the tree from forming its own natural “callus wood” and encourages rot to spread deep into the trunk.
5. Treating trees with dormant oils stops infestation
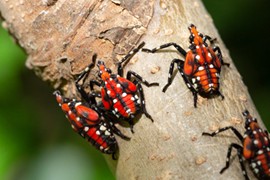
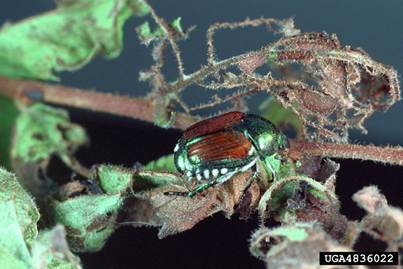
Assuming that a night in Providence killed the pests leads to a scouting vacuum. Invasives like the Hemlock Woolly Adelgid have evolved a form of “biological antifreeze” in their systems. If you don’t treat them with dormant oils or mechanical scraping in the winter, their populations will explode unchecked the moment the first leaf appears, often overwhelming a tree that is already stressed by winter weather.

6. Sap flow is a sign of positive root pressure
If a homeowner panics because a Maple is “bleeding” sap after a winter prune, they might apply harmful chemicals or sealants to “stop the leak.” Sap flow is actually a sign of positive root pressure and health. Attempting to stop it is like trying to stop a healthy person from sweating. The “bleeding” actually helps flush the wound of potential pathogens. Using sealants alone interferes with this natural cleansing process.
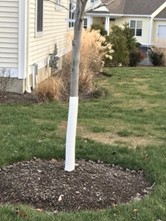
7. Bark is living tree tissue
Thinking bark is an “inert shield” leads people to ignore the south-facing side of young trees. Bark is living tissue. On a sunny 35°F Day in Rhode Island, the dark bark on the south side can reach 60°F, “waking up” the cambium layer. When the sun drops, that tissue flash-freezes. This creates a sunscald wound—a massive vertical strip of dead bark that can girdle and kill a young tree within a single season.
Use the tips above to prevent passive damage to trees—damage that can’t be seen until spring or summer. This activity wrecks a tree’s “internal plumbing” or its natural defenses. So, if you live in New England, address those mid-winter problems right away when it comes to tree care. It will save you time and money.
Questions about winter tree care? Contact experts at RITree. Or call (401) 764-5885. They’ll help you steer clear of winter tree care myths and boost the health of your trees.